
Reimagining the Dental ExperienceIn Raleigh, NC
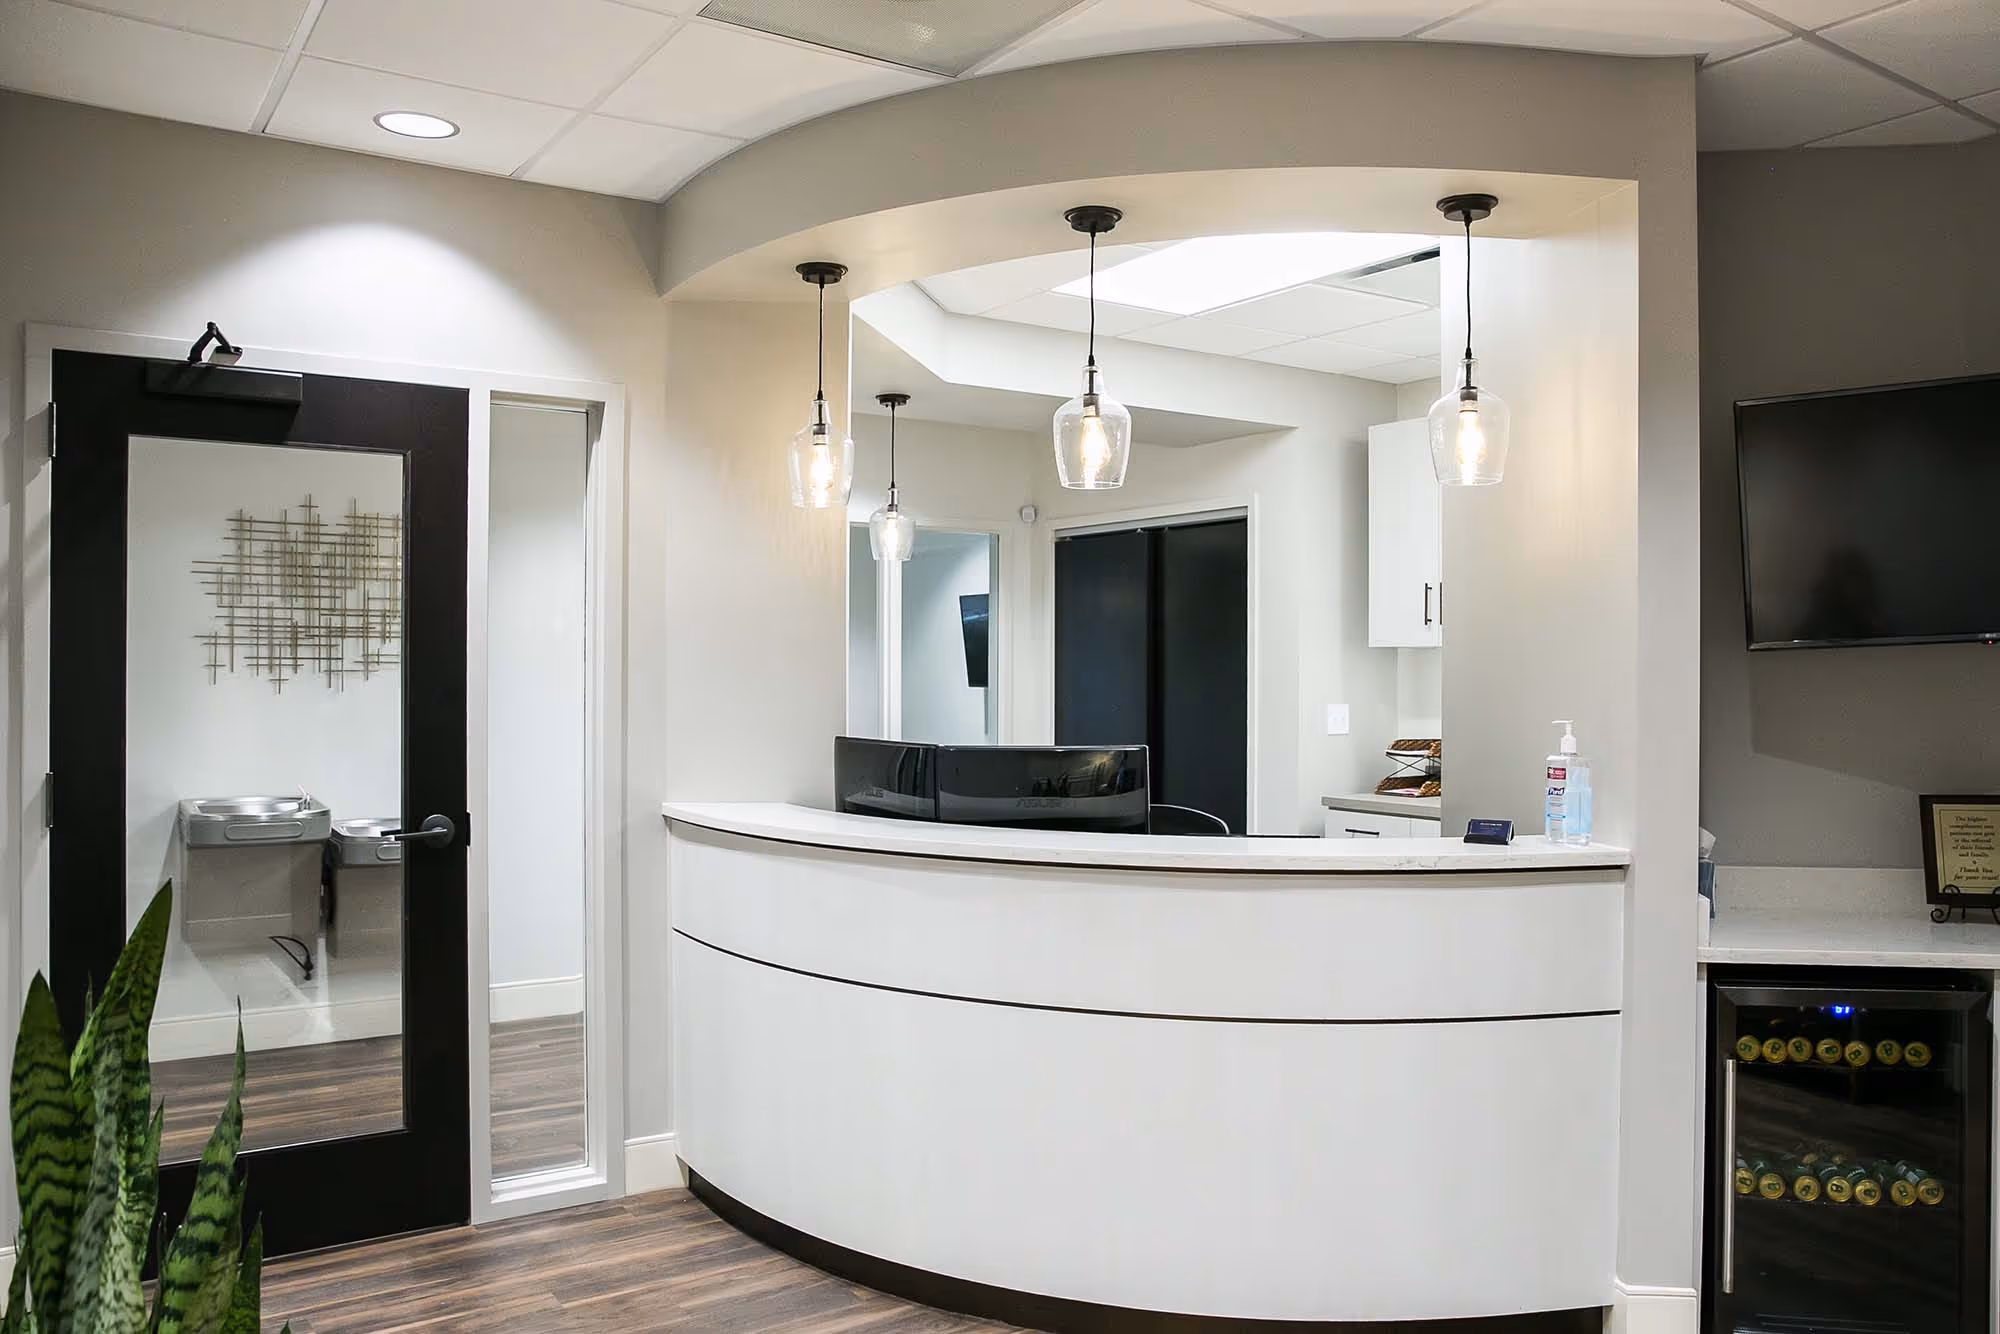
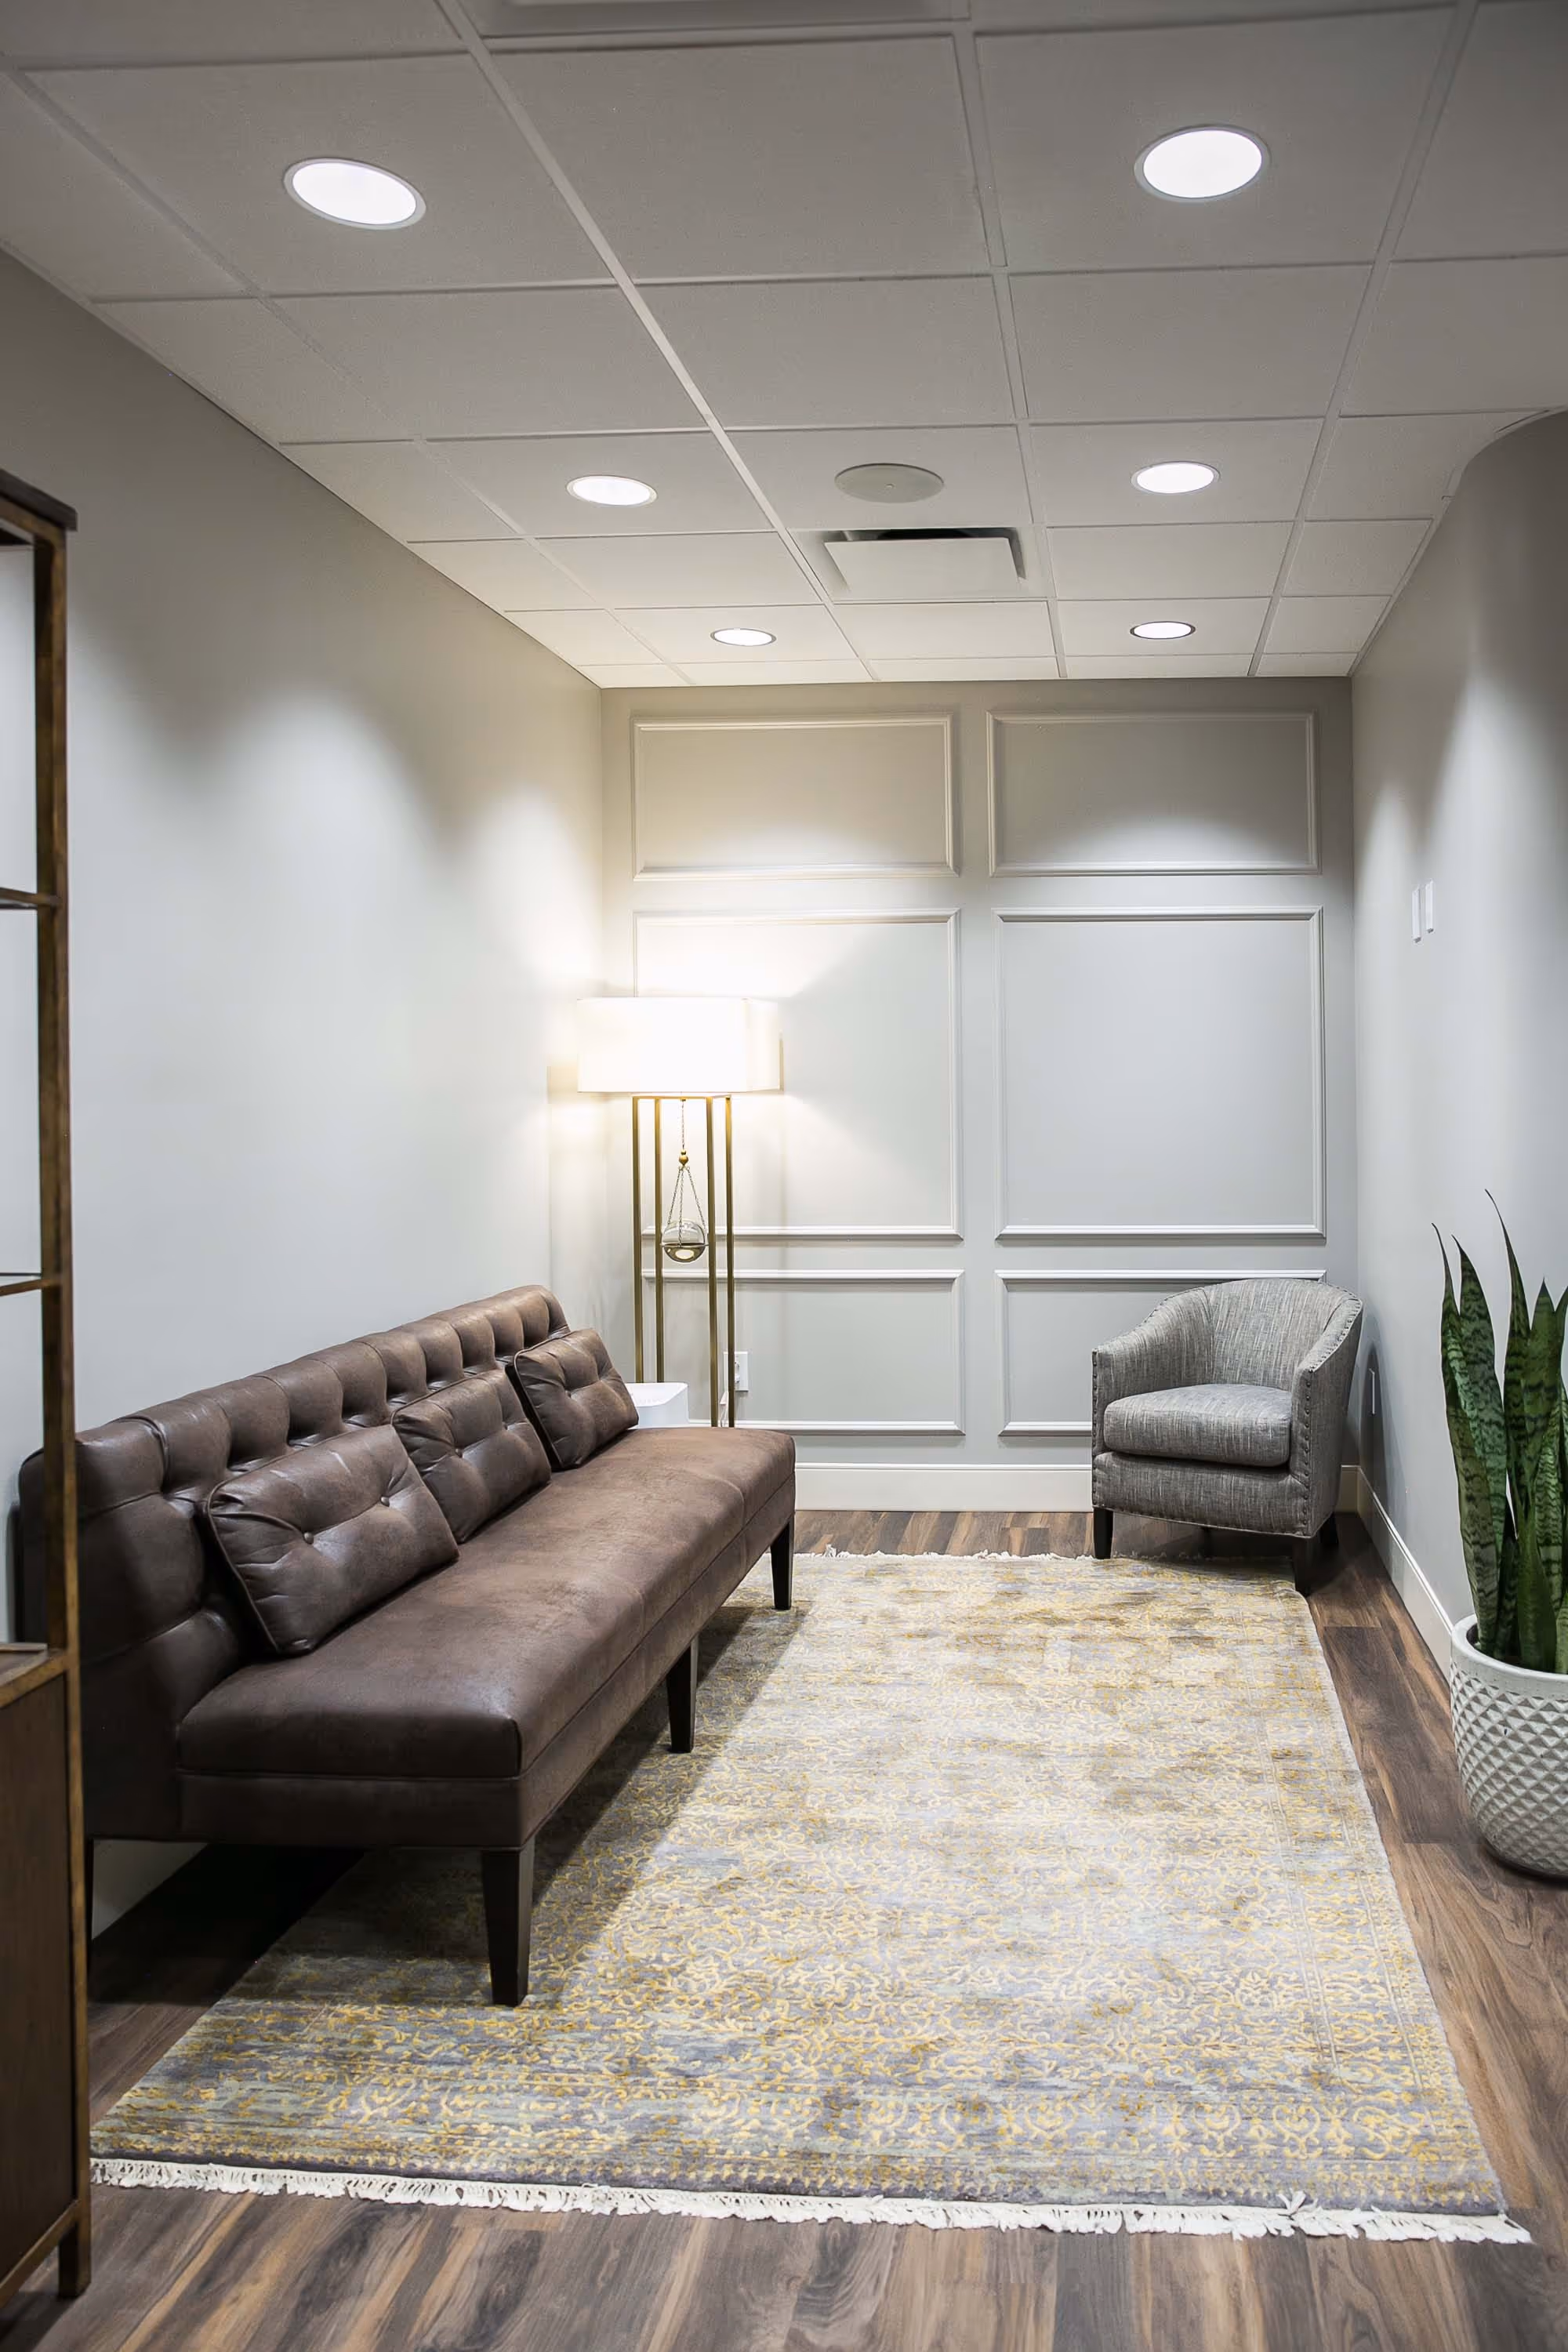
At Red Oak Dentistry, exceptional care isn't a promise — it's the standard. From advanced technology to a genuinely personal approach, every visit is designed to feel different from the moment you walk in.
A practice built on quality, honesty, and care that lasts
Red Oak Dentistry was built with a simple but powerful vision — to provide Raleigh families with the kind of dental care that most practices simply don't take the time to deliver. Dr. Michael King designed this practice around quality over quantity, ensuring every patient receives his full attention, honest recommendations, and dental work crafted to stand the test of time.
Whether you're coming in for a routine cleaning or a more comprehensive treatment, you'll find a practice that takes pride in doing things right — every single time.
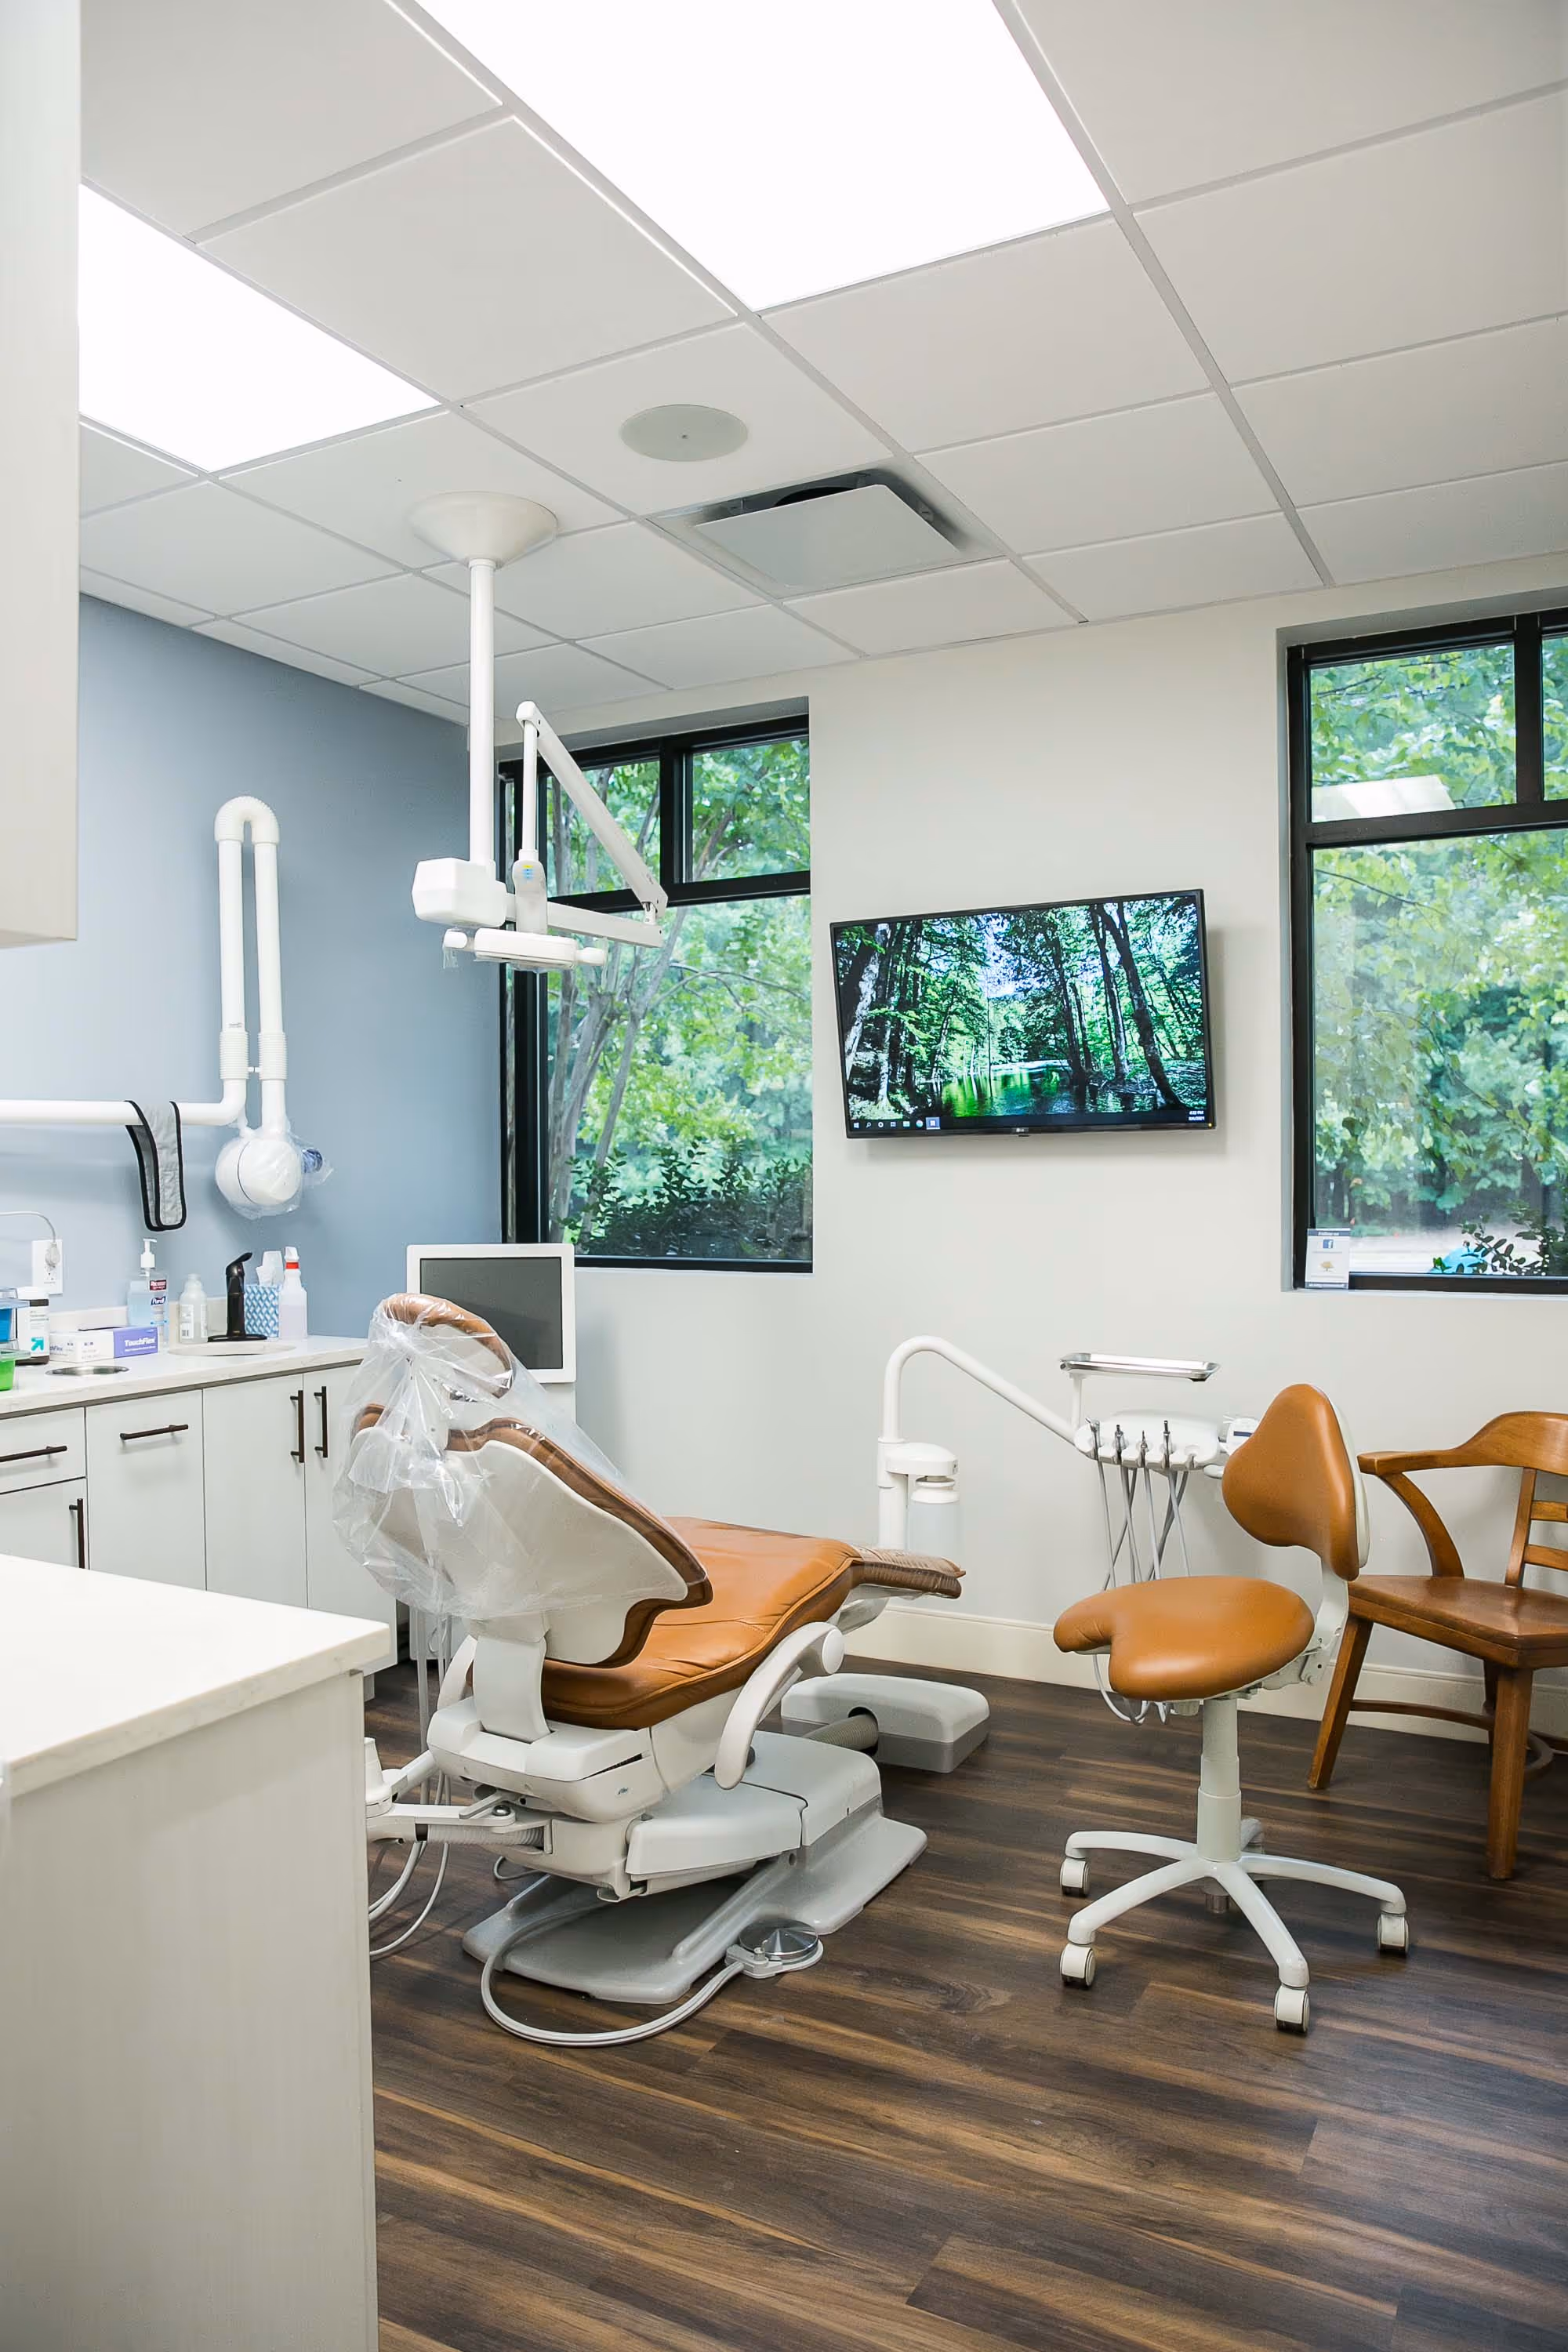
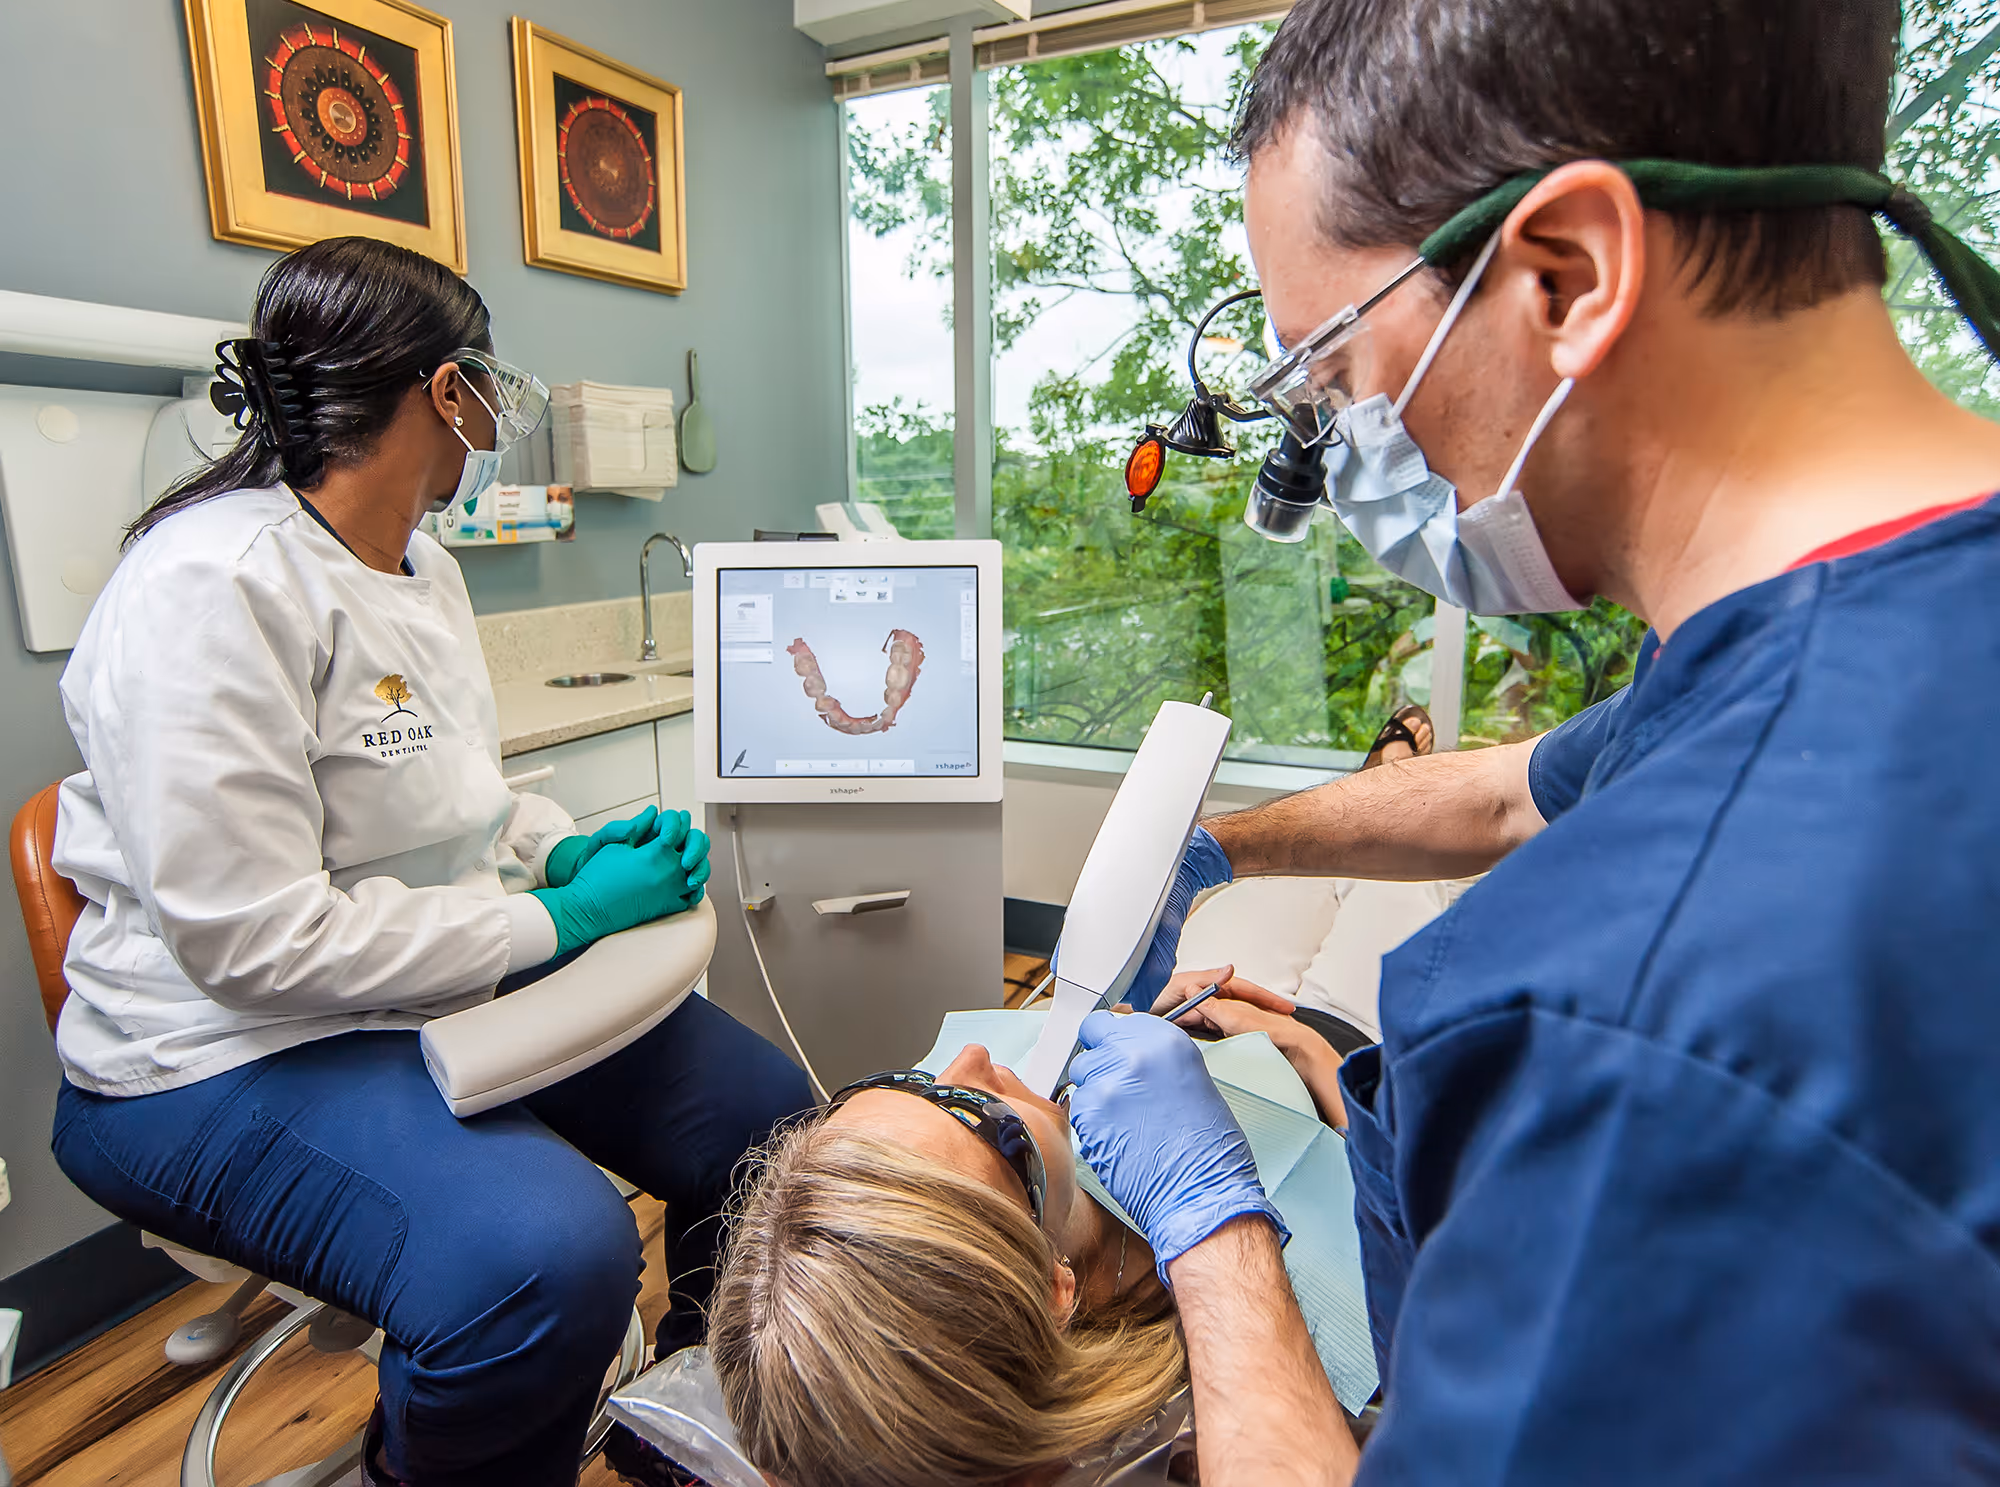
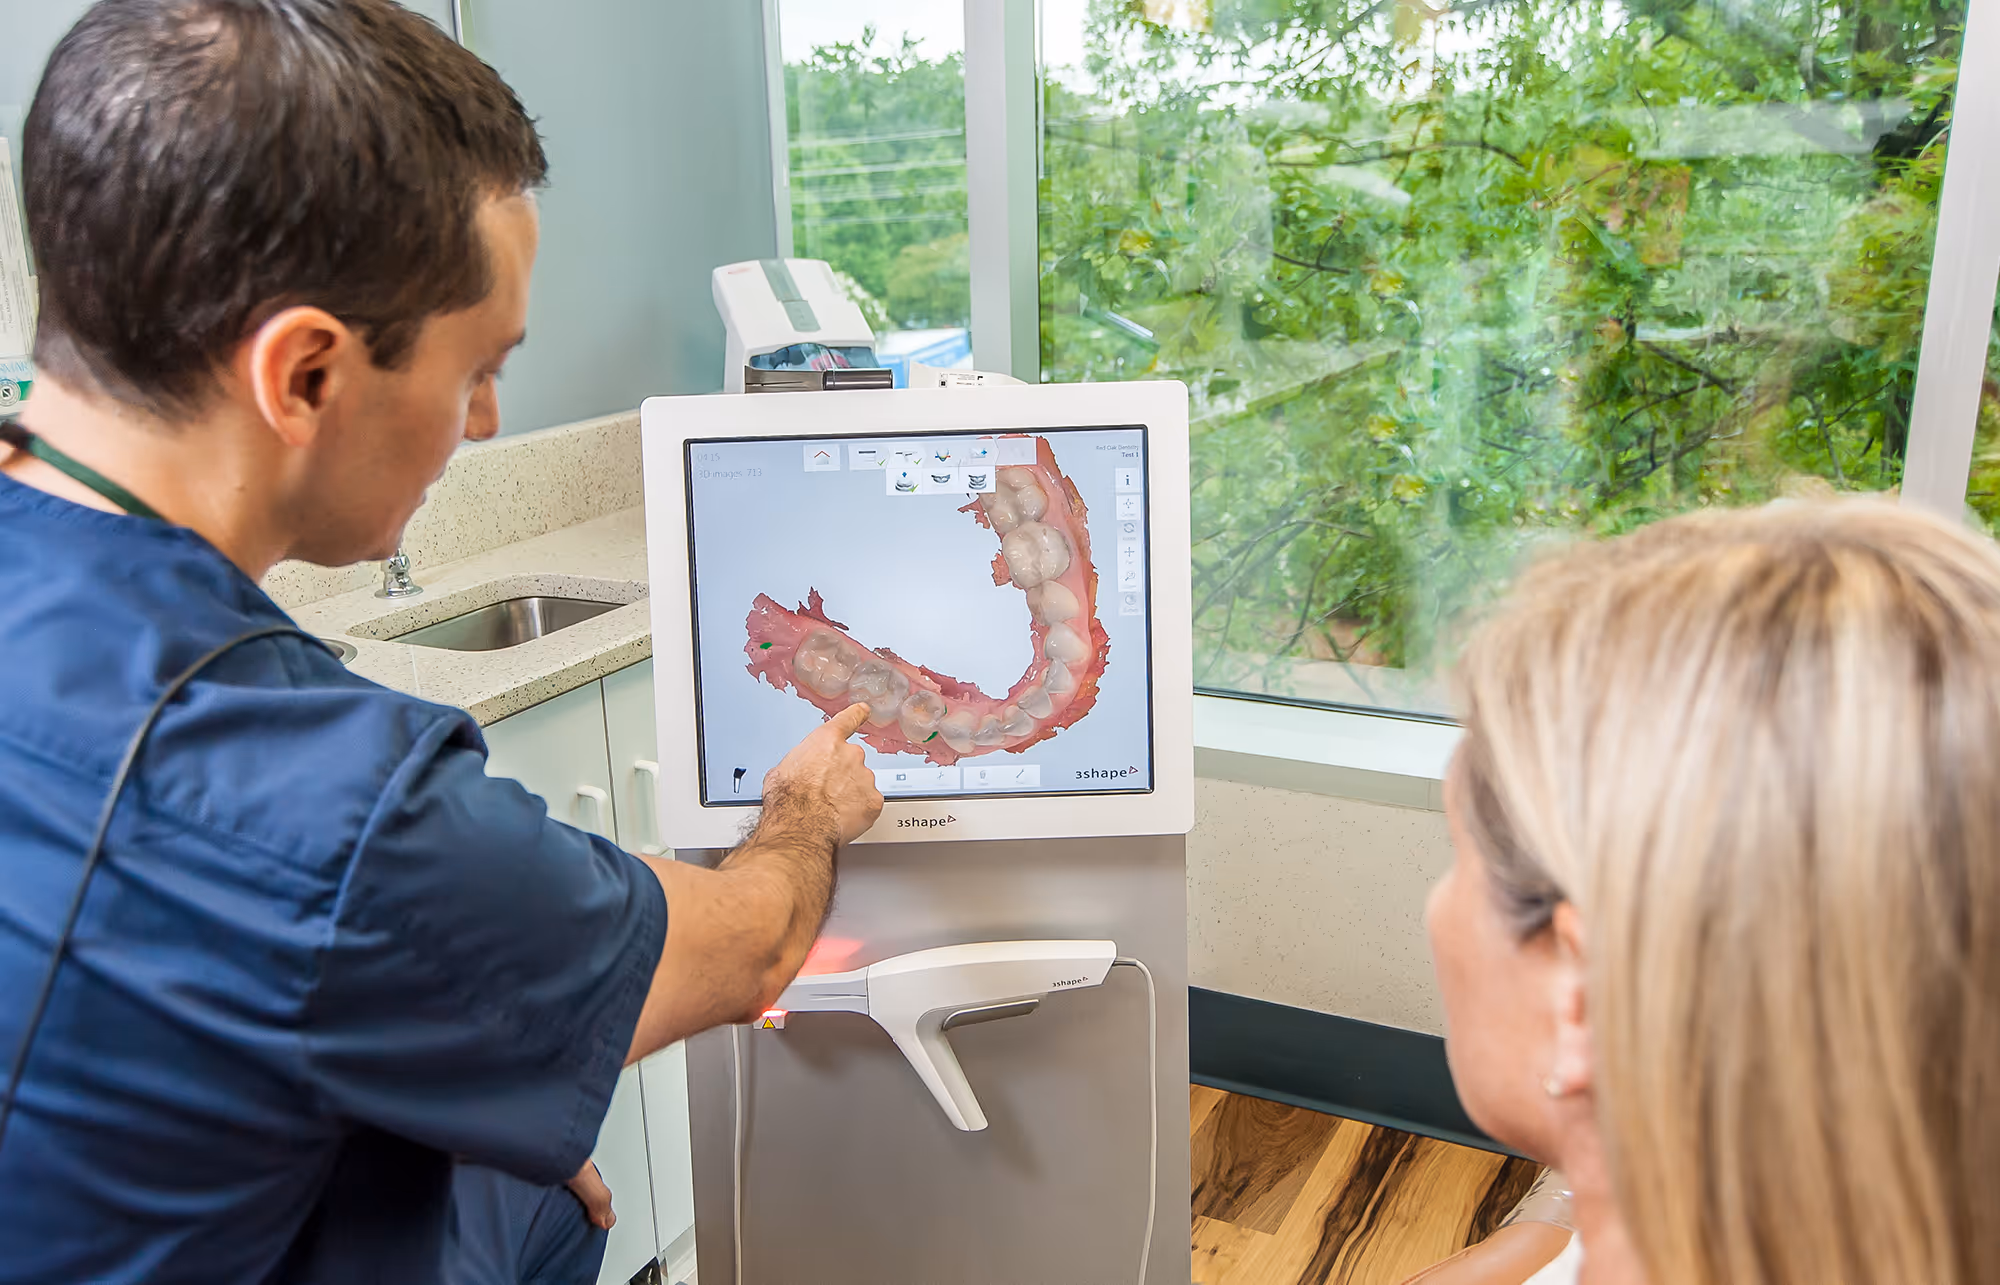
Comprehensive Care, Elevated From Start to Finish
Every service at Red Oak Dentistry is delivered with the same commitment to precision, honesty, and lasting results.
Cleanings & Exams
Preventive care is the foundation of a healthy smile. At Red Oak Dentistry, routine visits are thorough, personalized, and designed to keep you ahead of problems before they start.
Clear aligners
A straighter smile shouldn't disrupt your life. Dr. King offers Invisalign and Spark clear aligners — a modern, discreet solution for patients who want results that fit seamlessly into their day.
Dental Implants
Missing teeth deserve a solution built for the long term. Red Oak Dentistry provides implant care focused on natural-looking results, lasting function, and the kind of craftsmanship that makes a real difference over time.
Where a Higher Standard of Care Meets a Genuinely Personal Touch
The Experience and Philosophy Behind Red Oak Dentistry
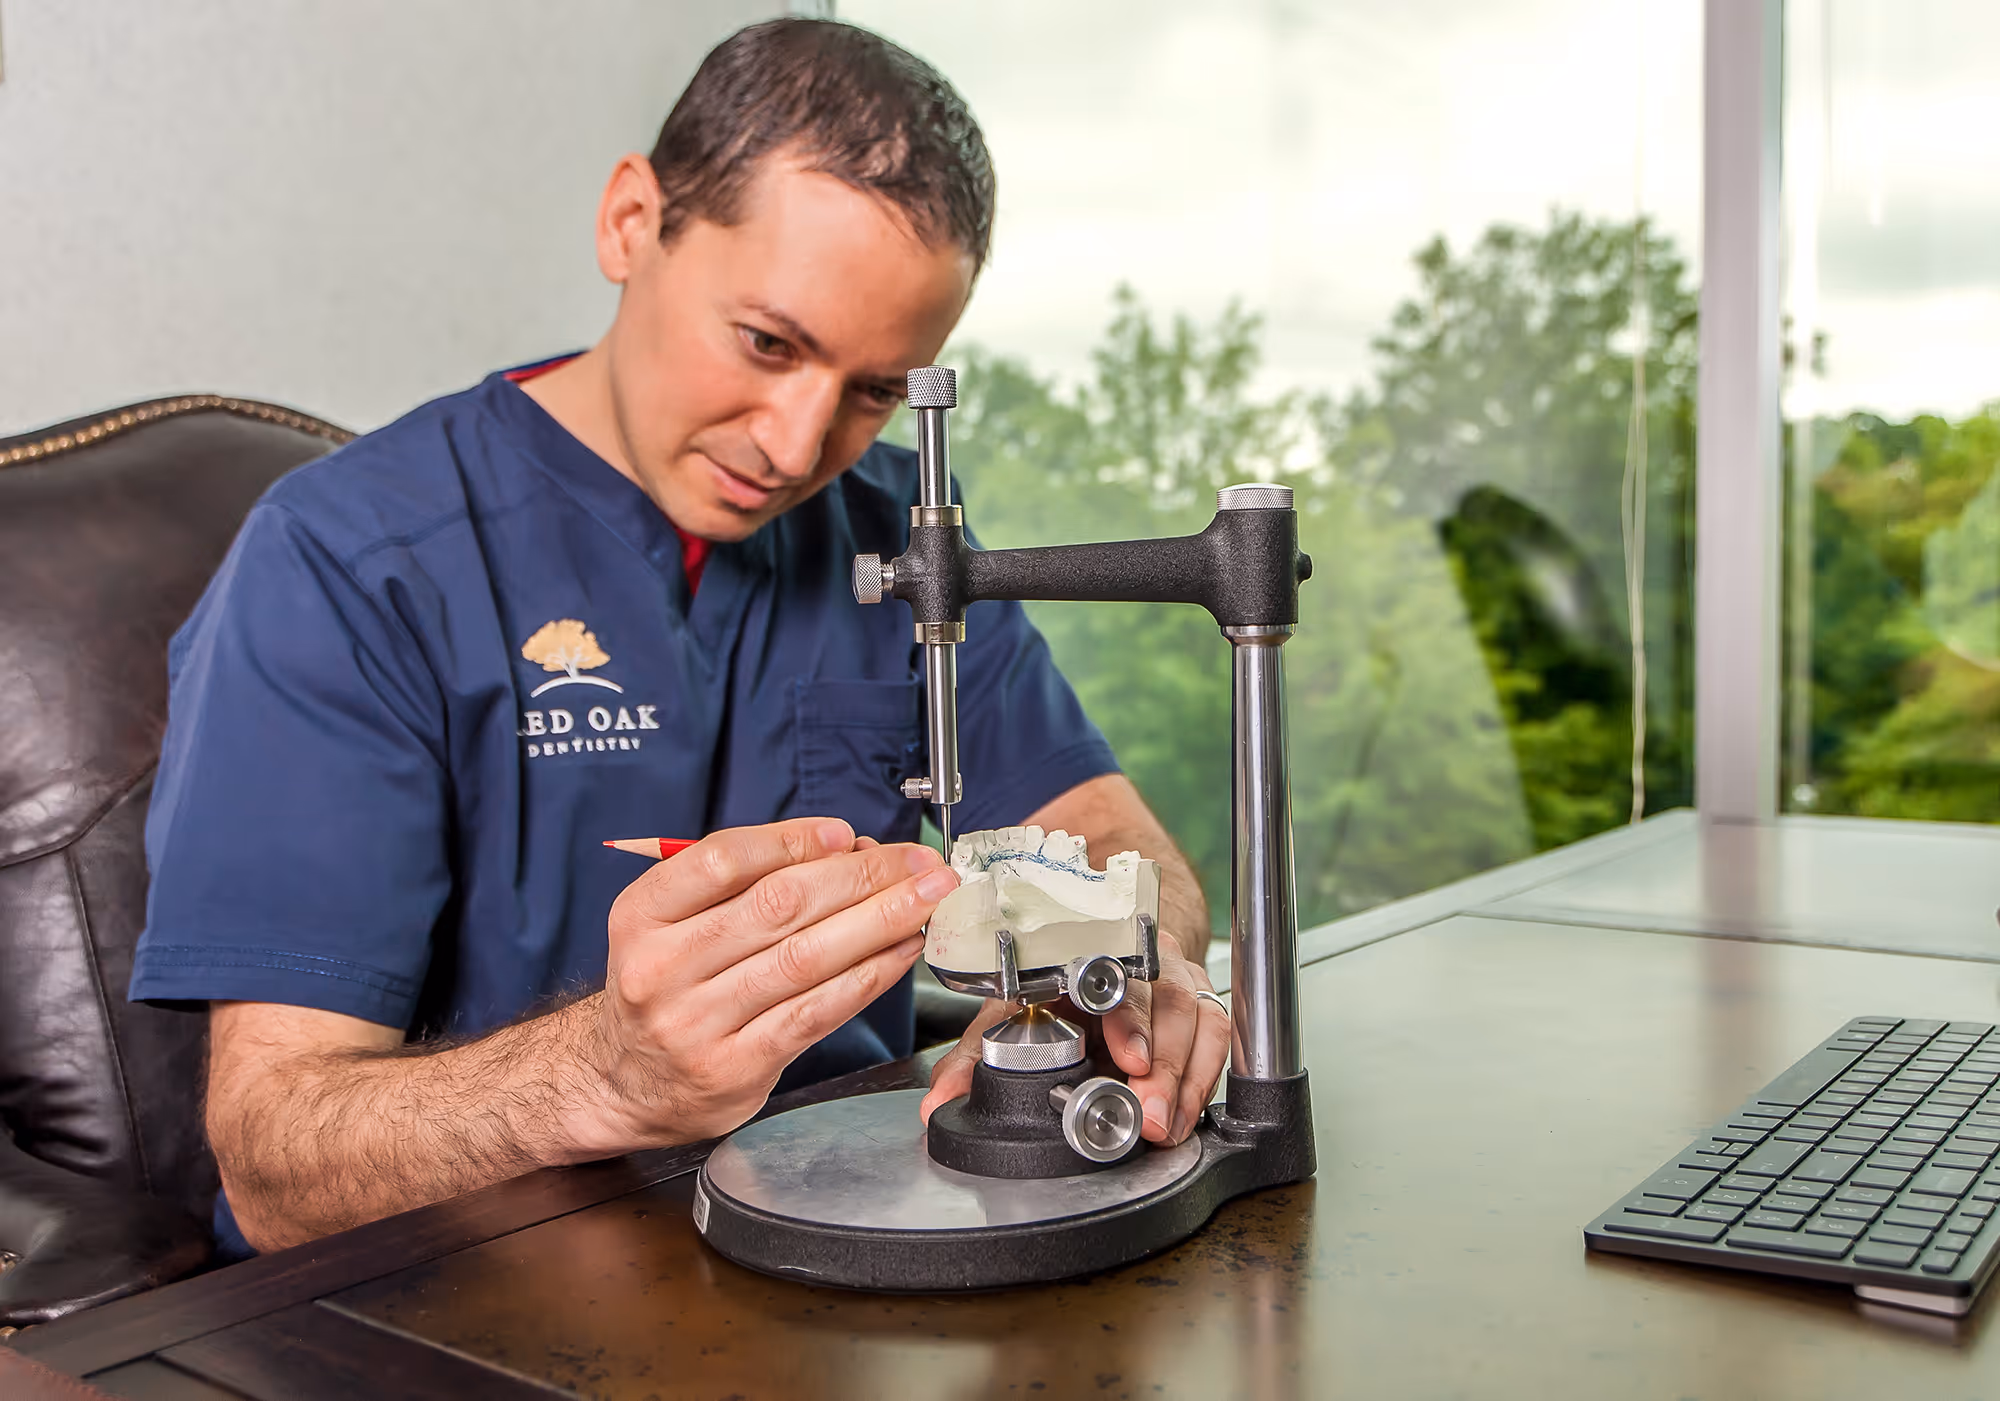
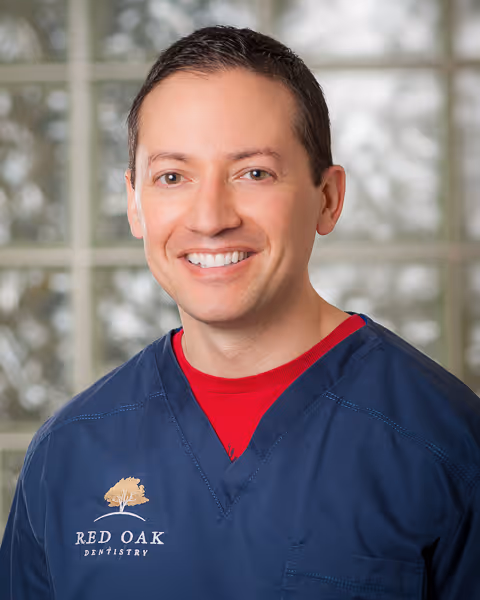
Dr. Michael King, DMD,
Dr. Michael King, DMD, spent a decade serving as a Navy dentist before making a deliberate decision — to build the kind of practice he always believed dentistry could be. Born in London, raised across Alaska and California, and trained through the U.S. Navy's rigorous AEGD program, Dr. King brings 15 years of experience and a deeply personal approach to every patient he sees.
His philosophy is straightforward: honest service, exceptional quality, and care designed to last. At Red Oak Dentistry, patients aren't numbers in a schedule — they're people worth knowing.
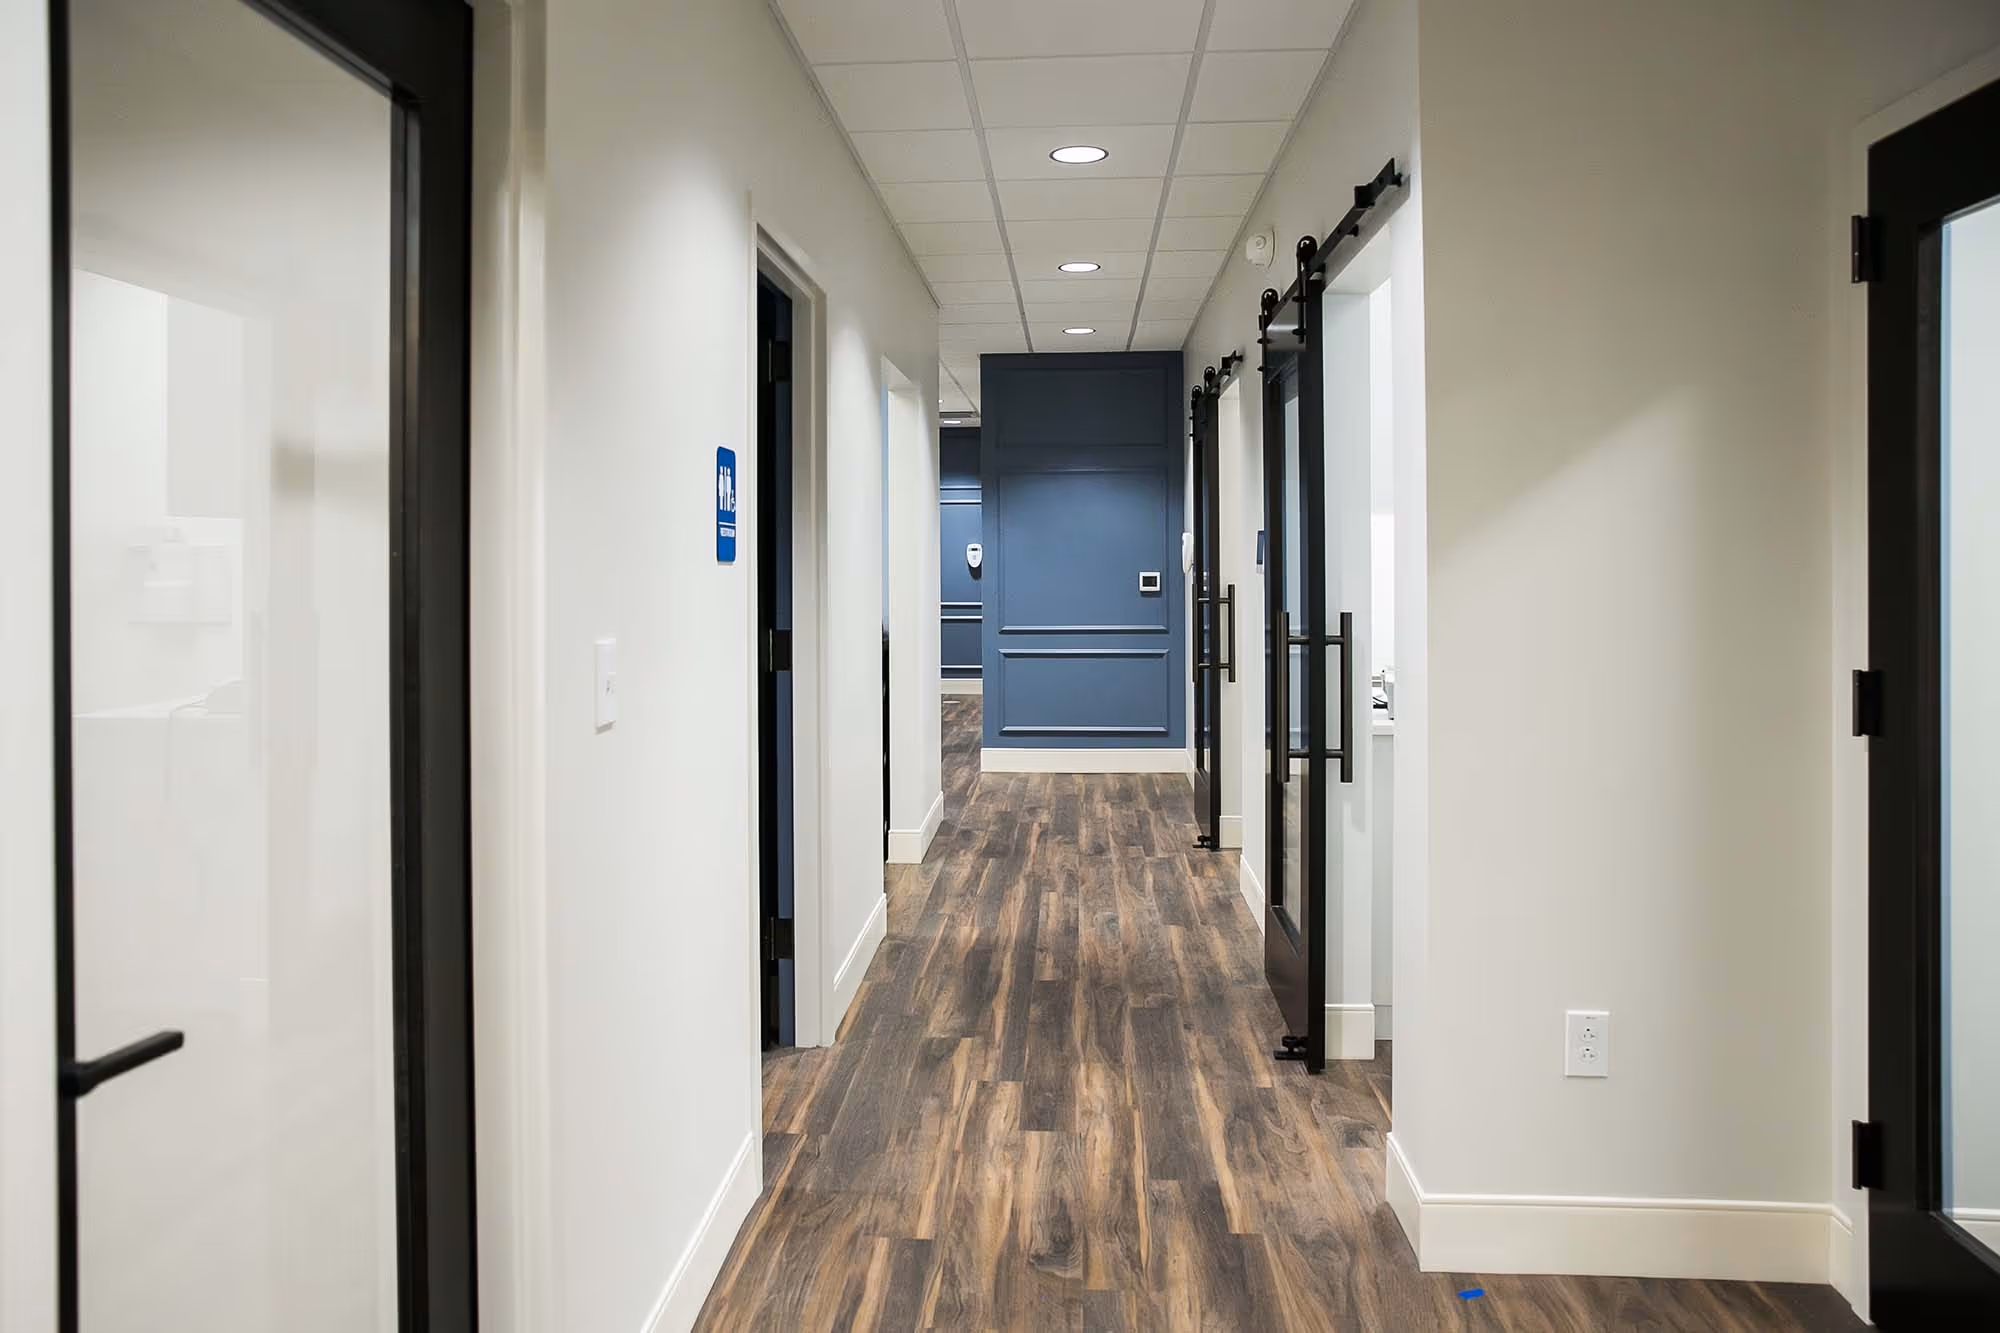
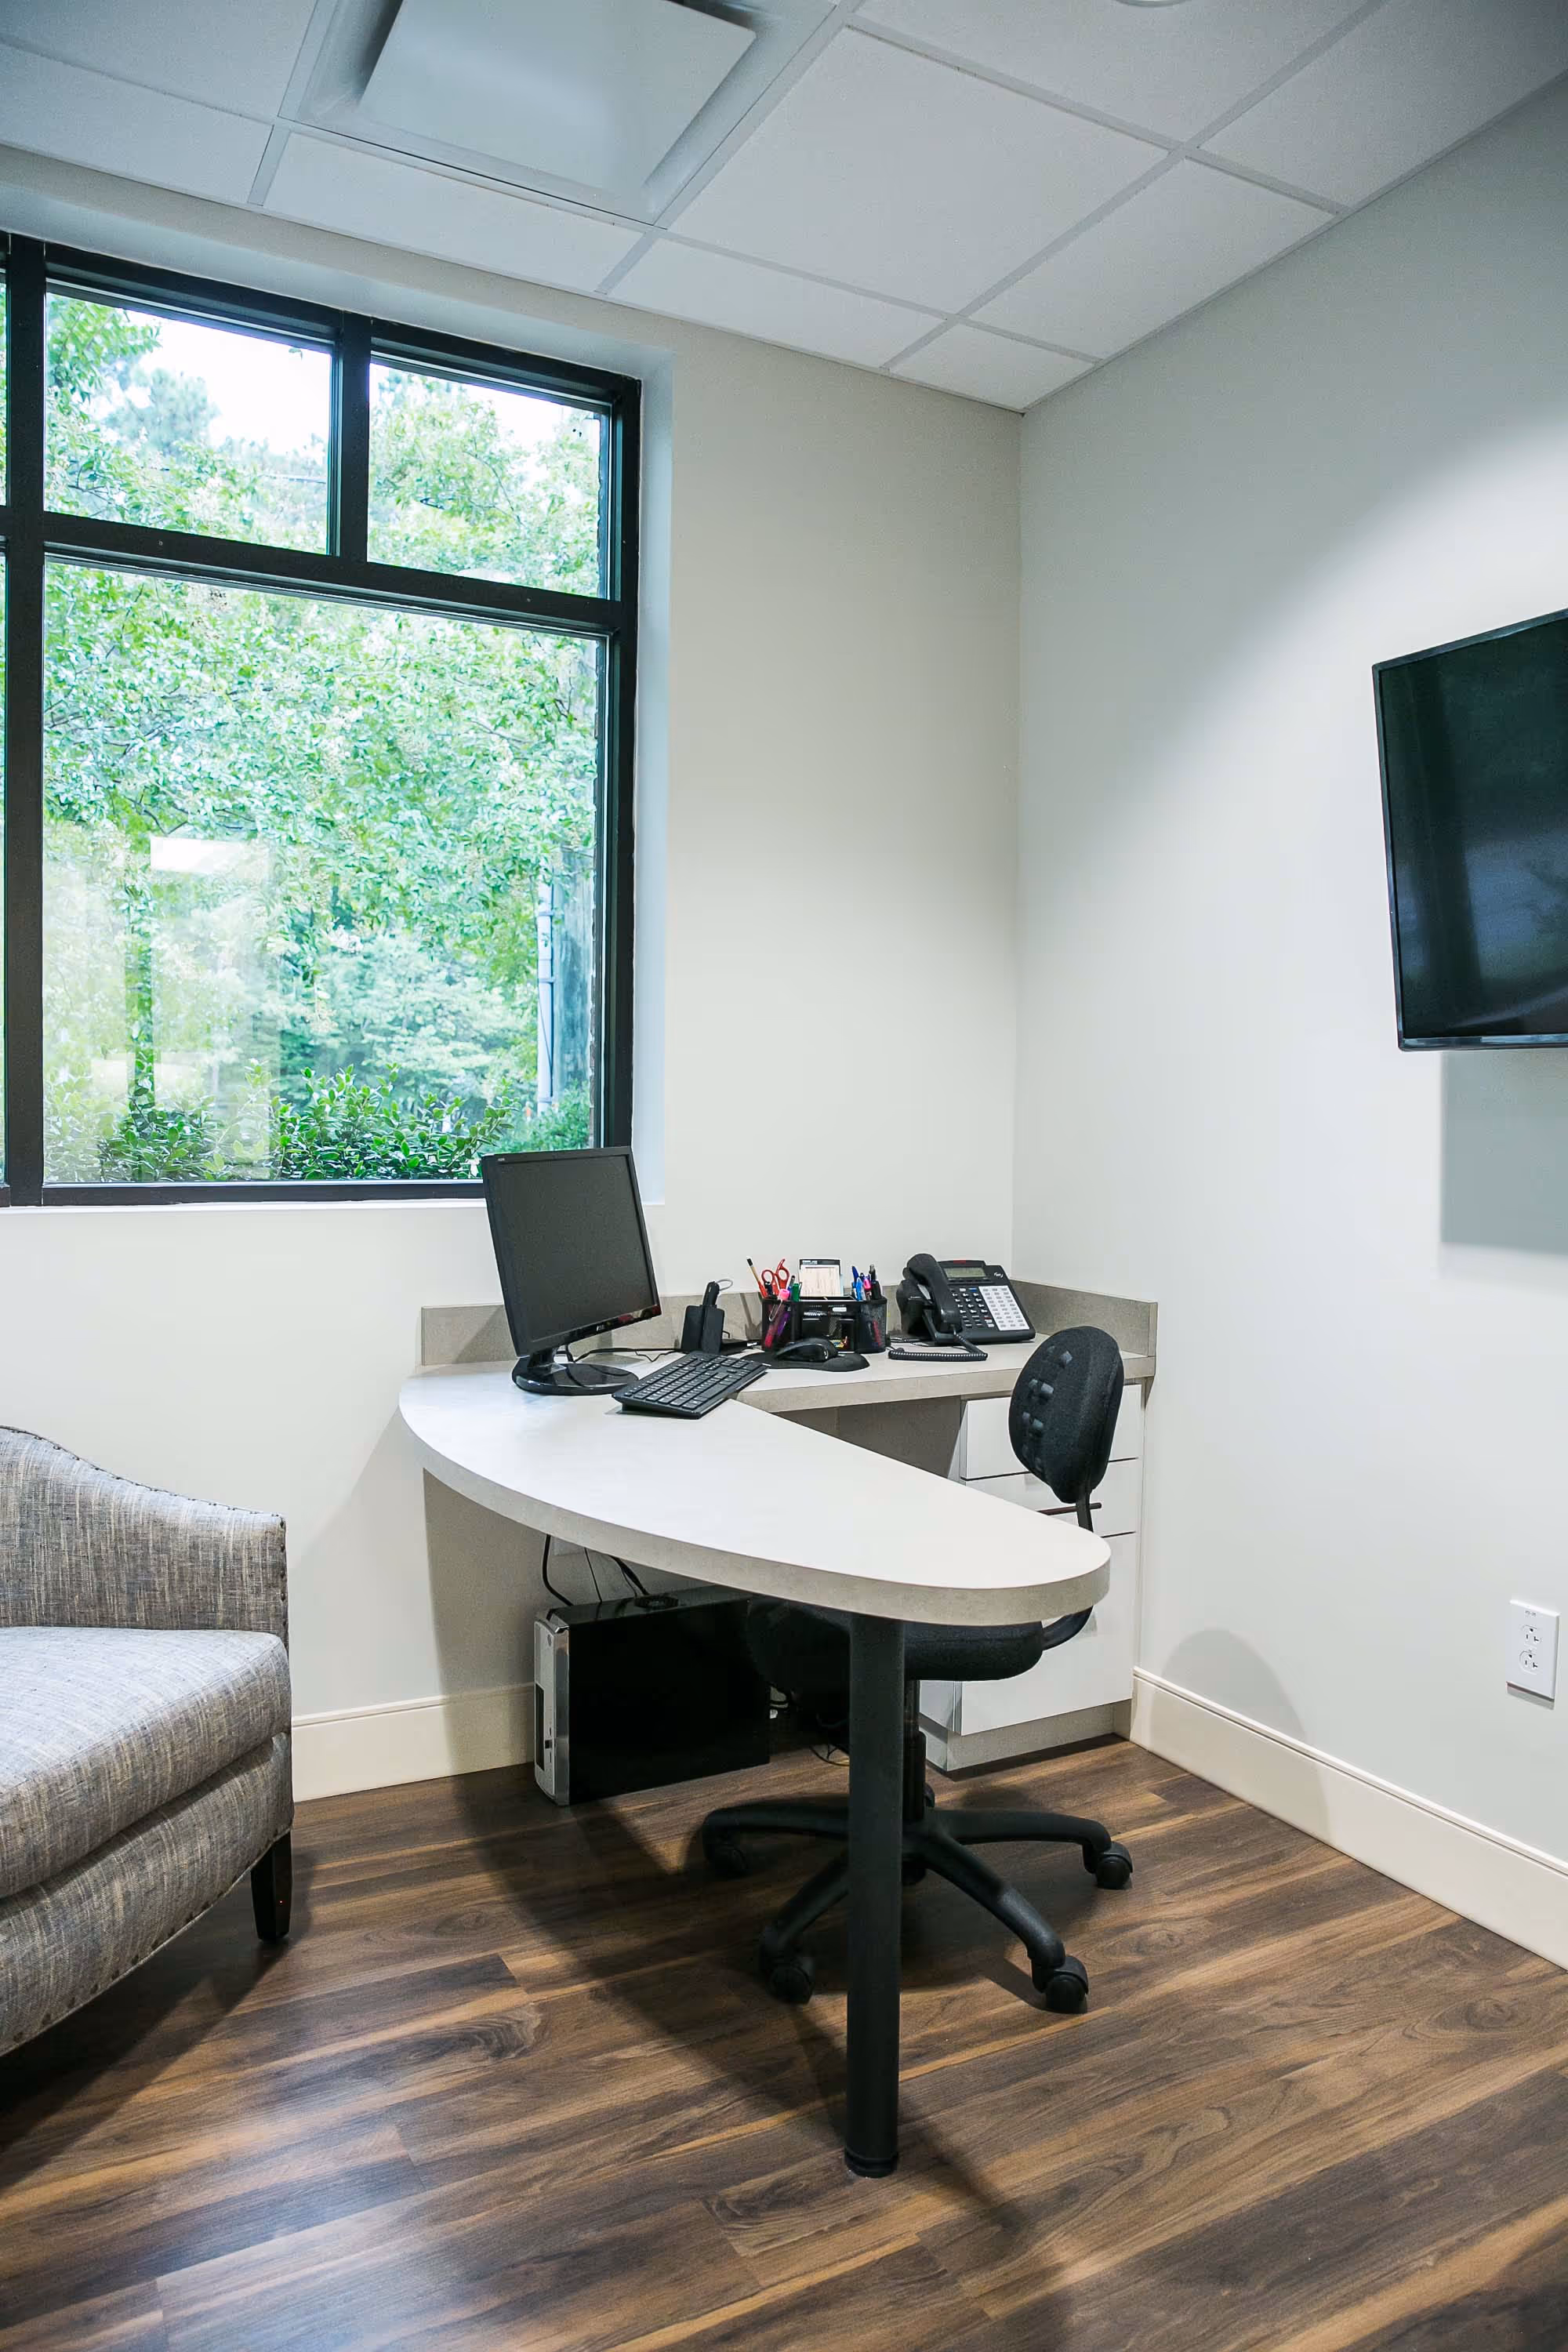
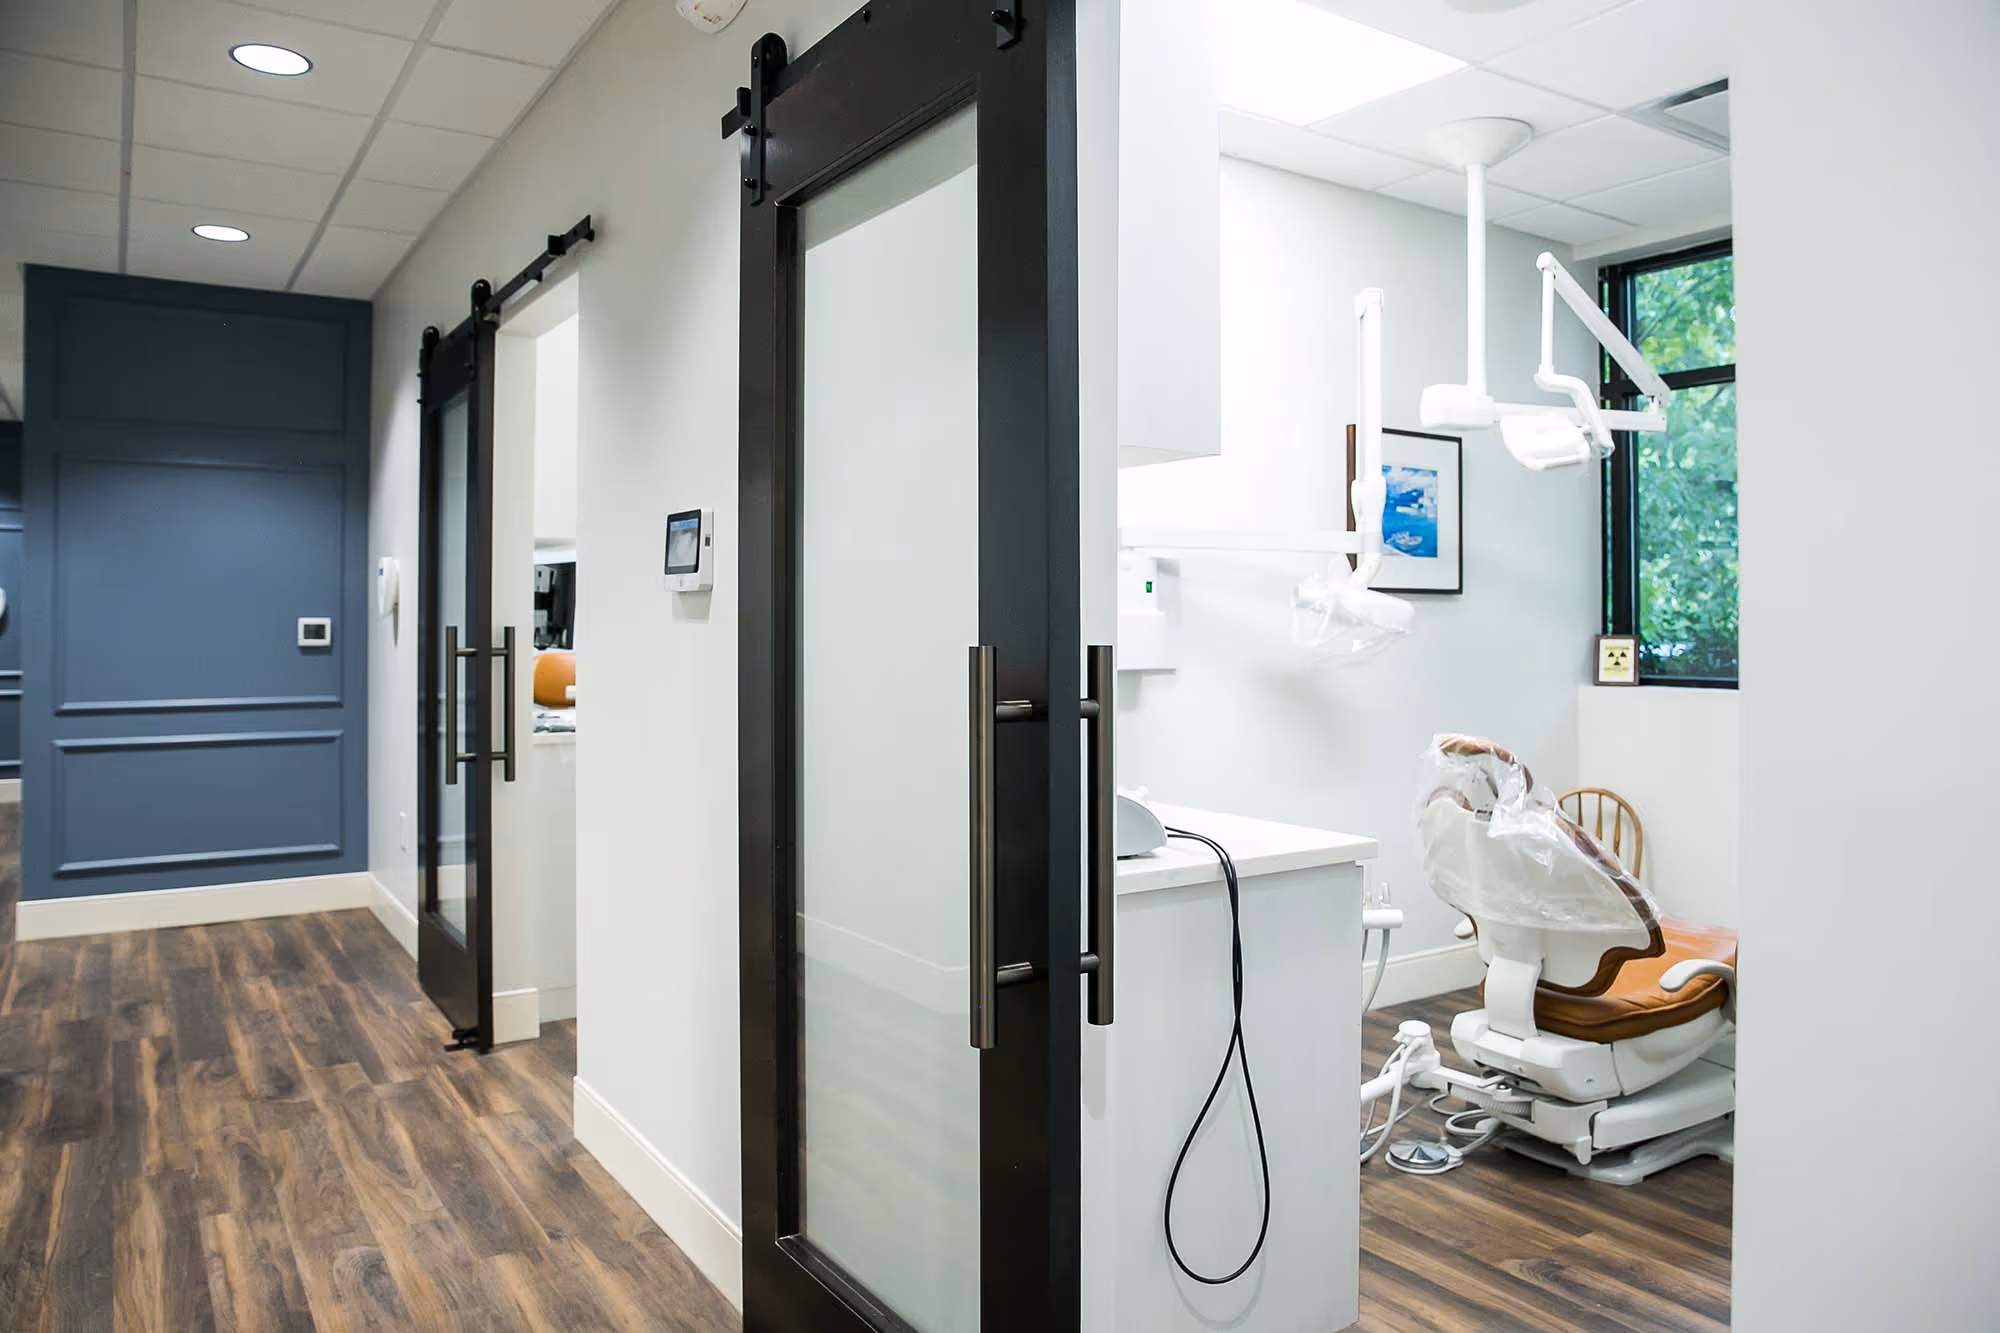
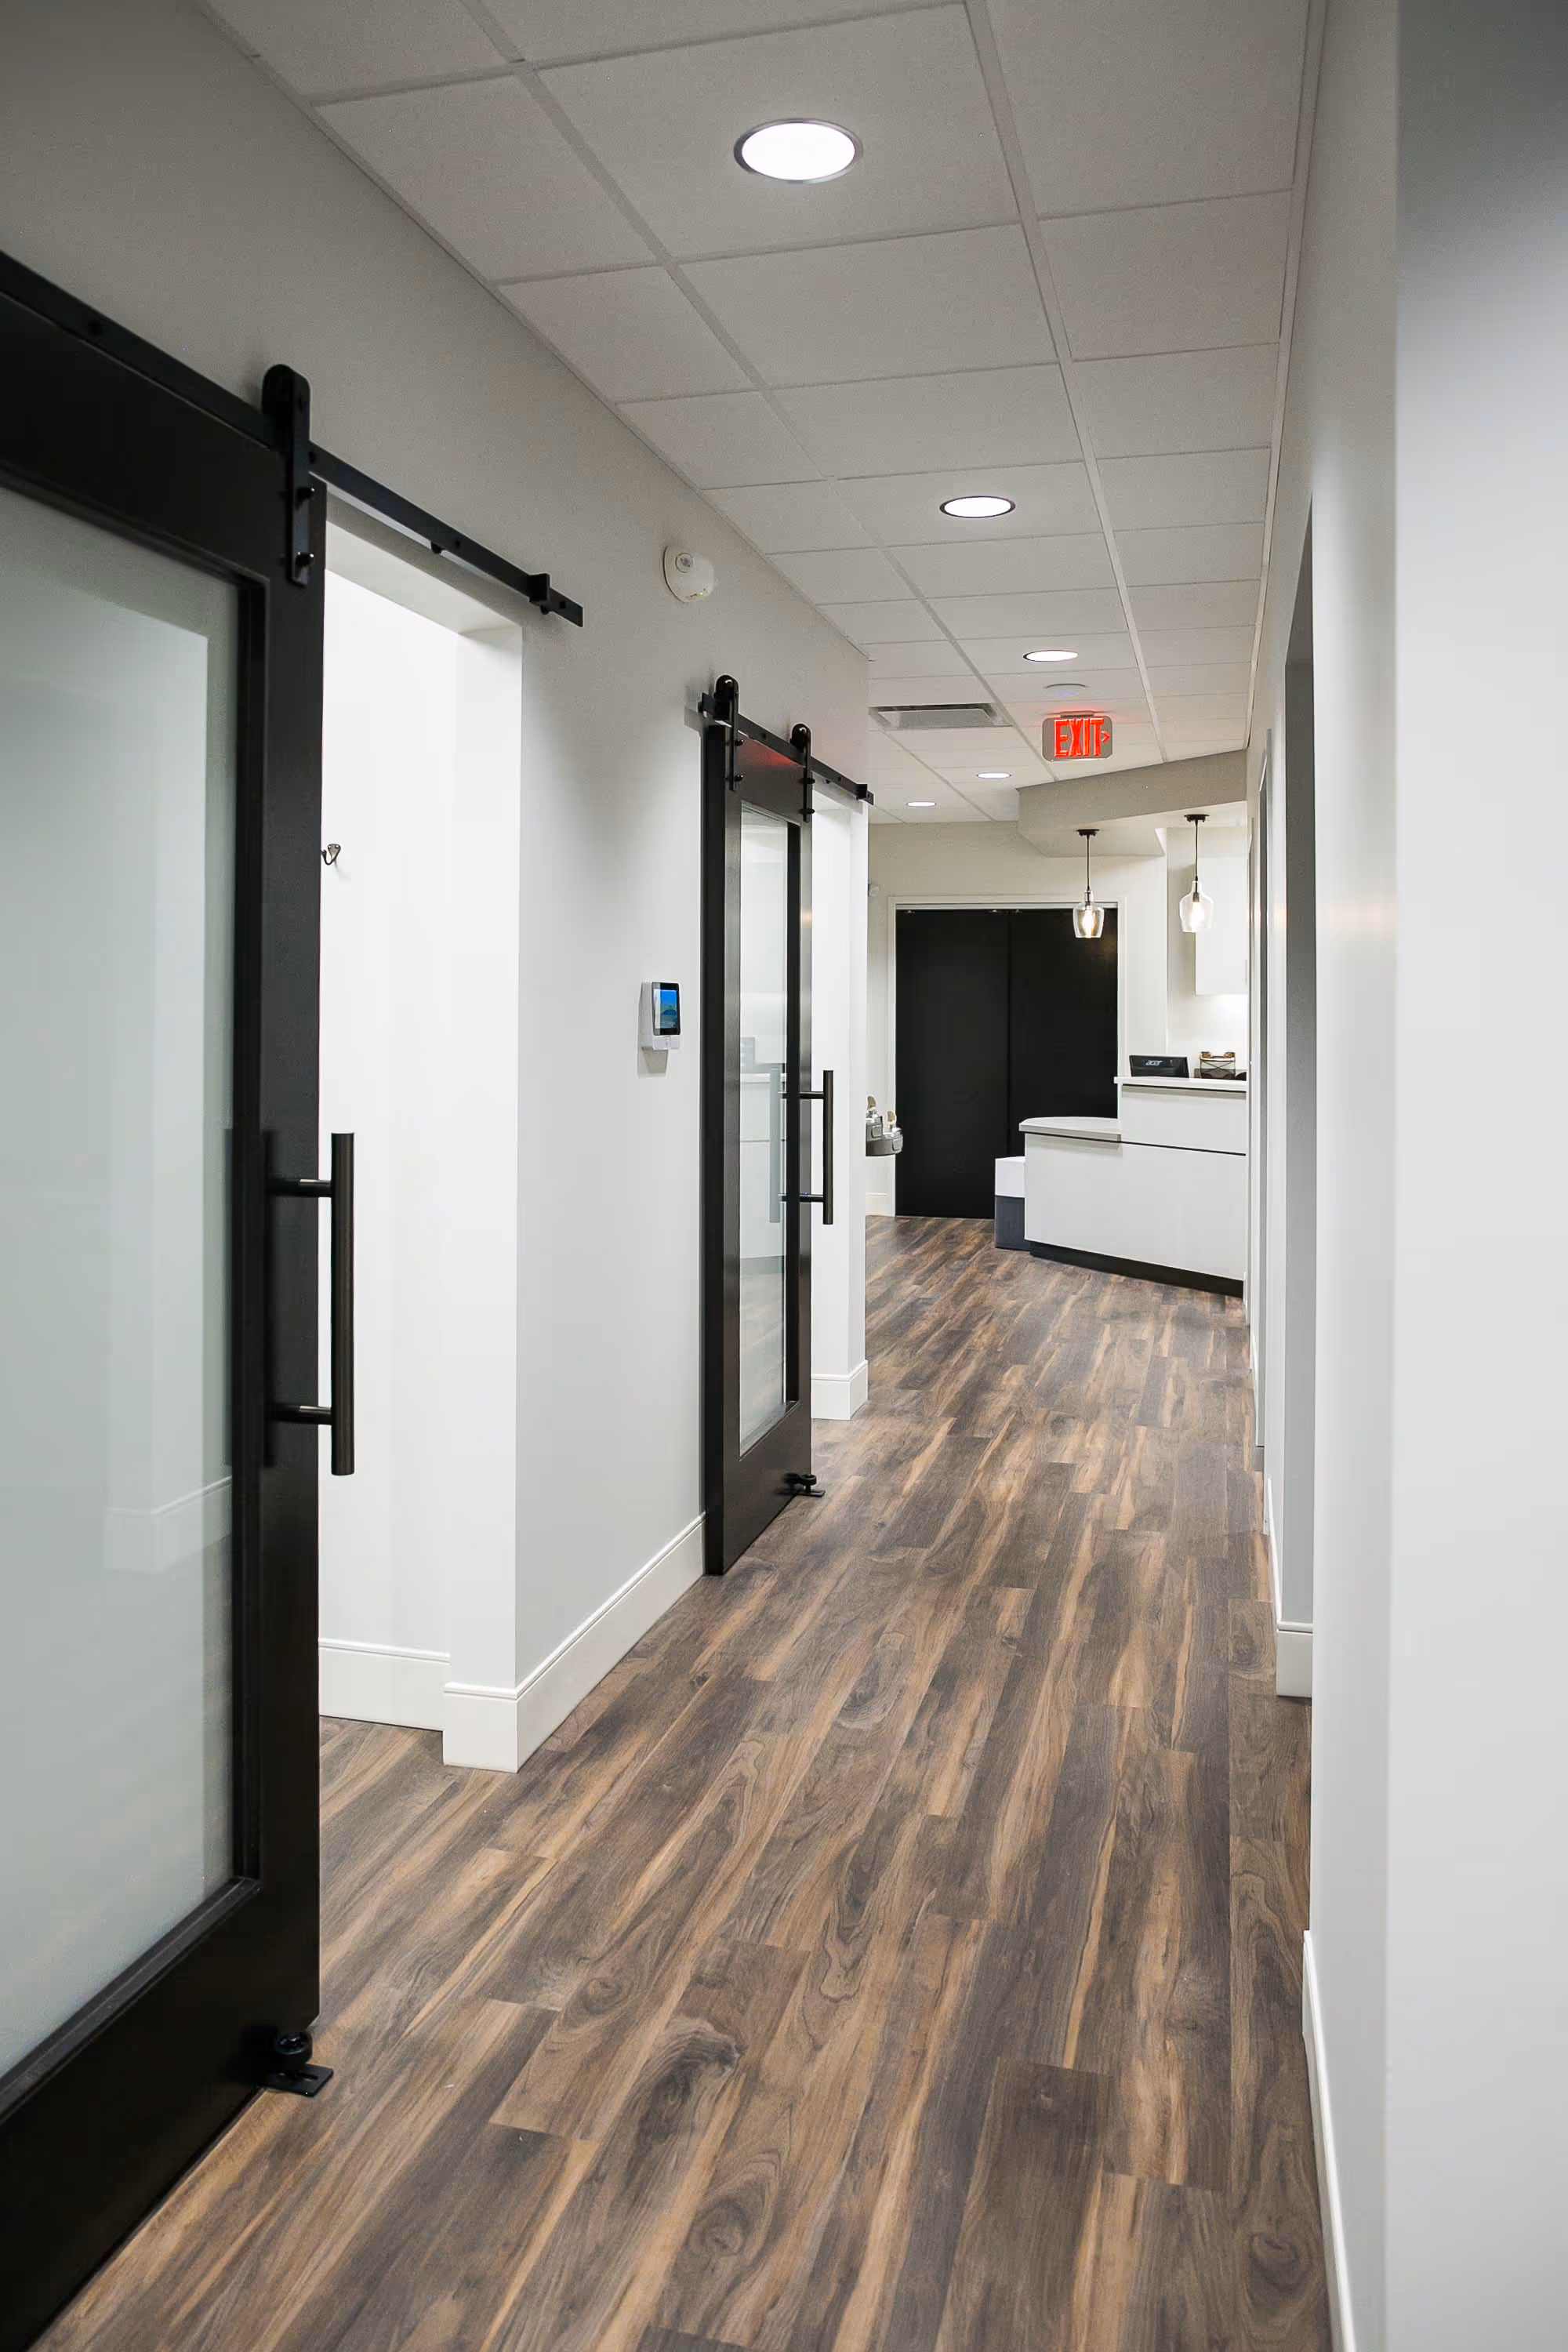
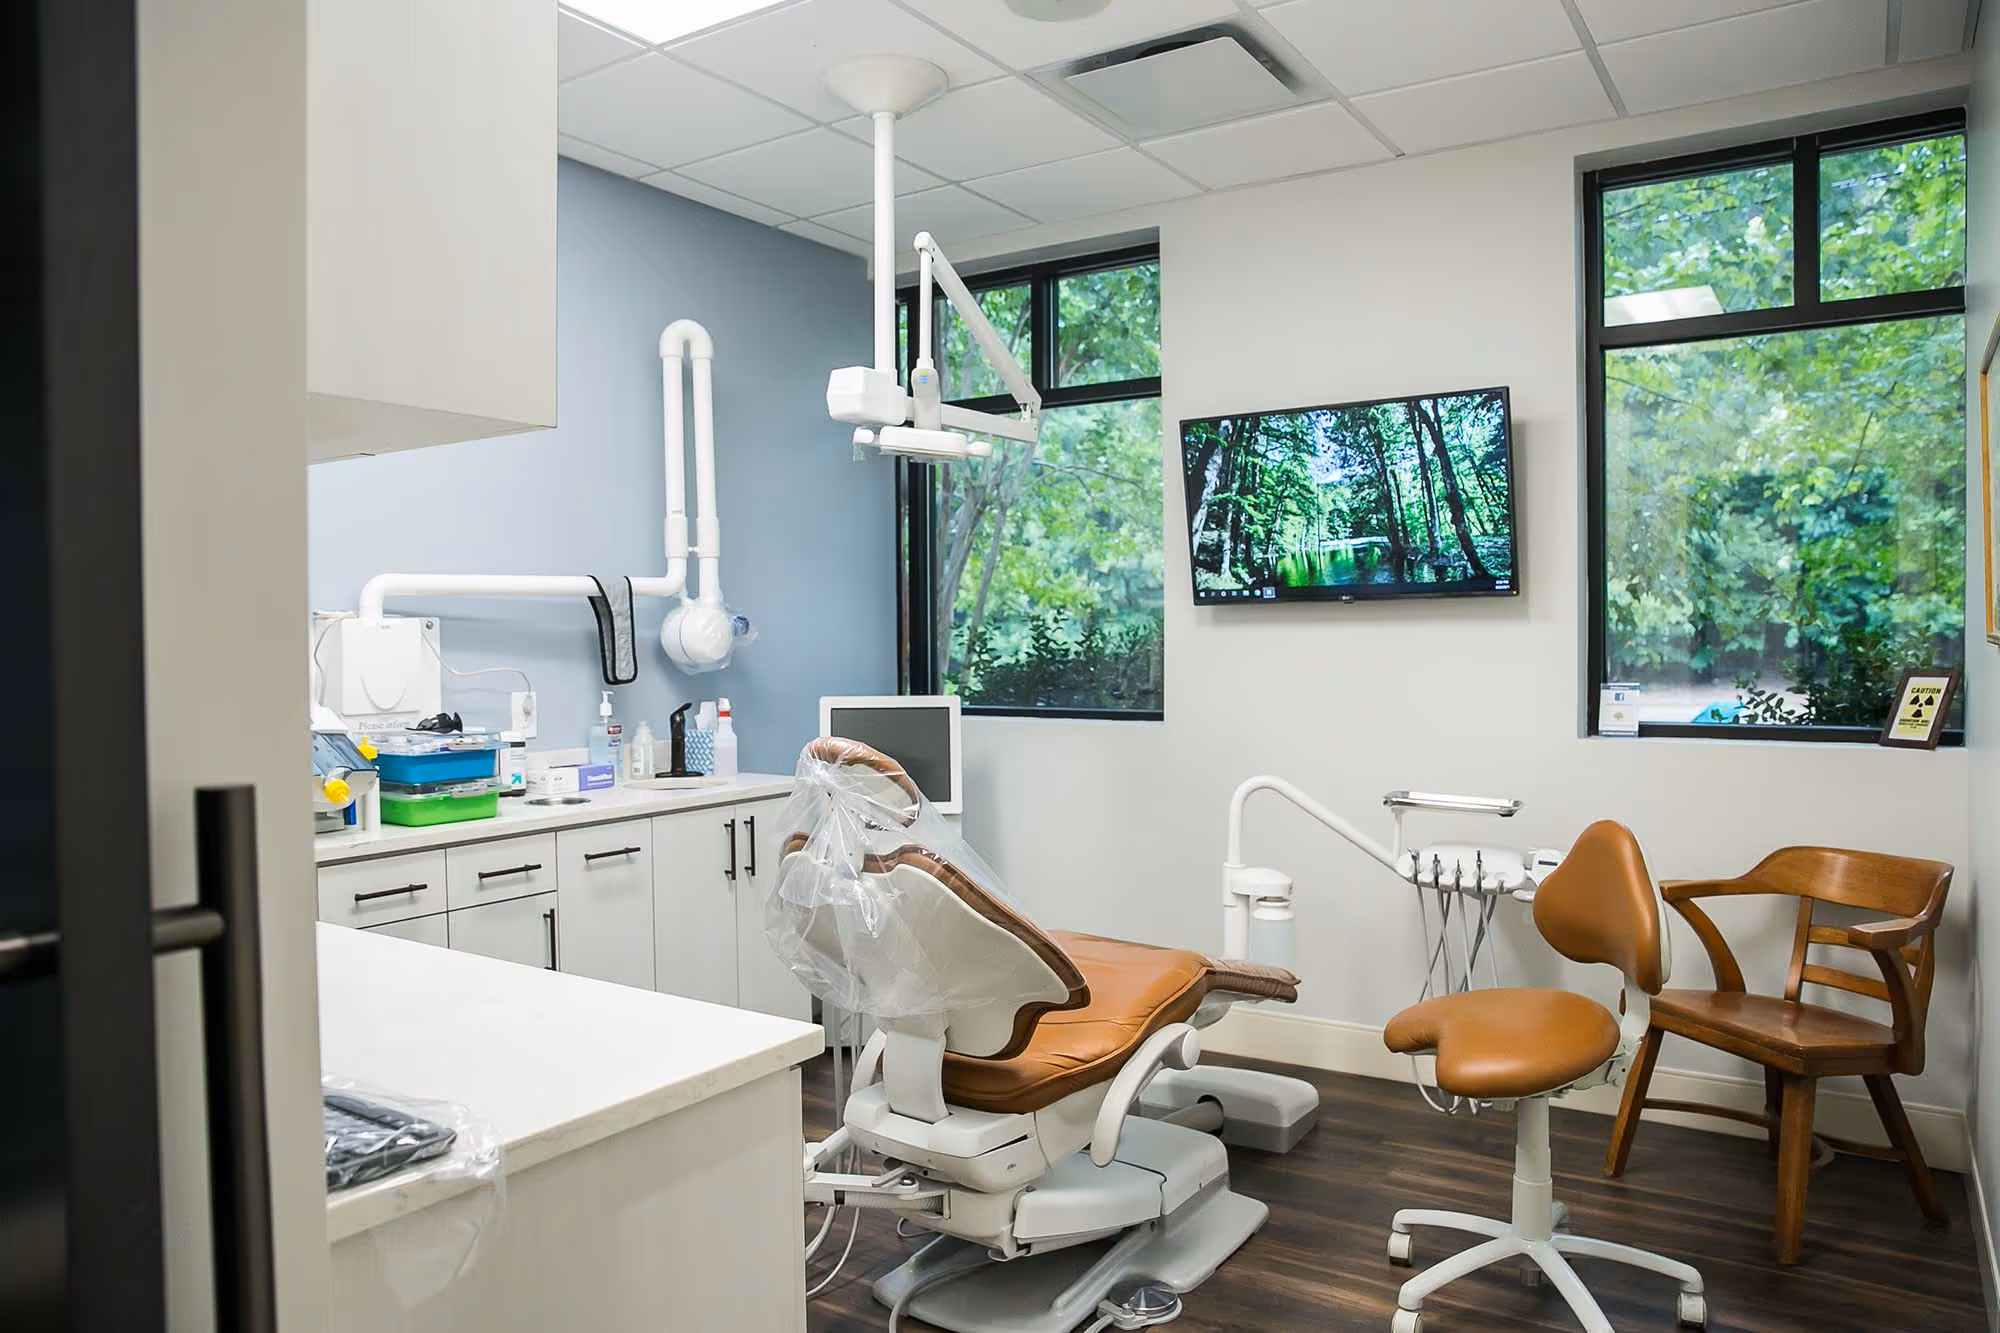
Thoughtfully Designed for Patients Who Need Greater Peace of Mind
Going to the dentist requires opening your mouth — and for immunocompromised patients or those who are health-cautious, that's not something to take lightly. Red Oak Dentistry was built with exactly these patients in mind, featuring closed-door operatories, filtration systems throughout the office, advanced HVAC filtration, and N-95 availability for high-risk visits or upon request.
Because exceptional care means thinking of everything.
What Families Are Saying About Red Oak Dentistry
No insurance? No problem.
Whether you have dental insurance or prefer to pay directly, our team is here to help you understand your options. Red Oak Dentistry files insurance claims for all patients, whether we are in-network with your plan or not, and we’ll make sure you know what to expect before your first visit.
Your Home for Exceptional Dentistry
If you've been searching for a dental practice that takes quality seriously and treats you like family, while delivering care designed to last. Red Oak Dentistry is ready to welcome you. Same-day appointments are available when you need them.